Control of the injection of a liquid from UBIDOTS with GOBLIN 2.
In this example we´ll show you an application where we´ll be able to control the amount of liquid to be injected in milliliters from the WEB, these values are modified from the internet via the UBIDOTS platform.
It explains how to receive information to our GOBLIN 2 from the UBIDOTS API via an HTTP protocol.
The methods to request information supported by UBIDOTS are:
- GET request a resource from the cloud in this case the API (a variable)
The GOBLIN 2 receives a value from the UBIDOTS´ API and executes the expulsion of the selected value.
Necessary hardware and connection diagram:

Characteristics of the flow sensor being used:
Model: YF-S201
Material: PVC
Max current: 15 mA
Voltage at which it works:5VDC-18VDC
Dimensions:6.2 cm x 3.6 cm x 3.4 cm
Work range:1-30 L/min
Water pressure: <1.75 MPa
Characteristic of the water pump being used:
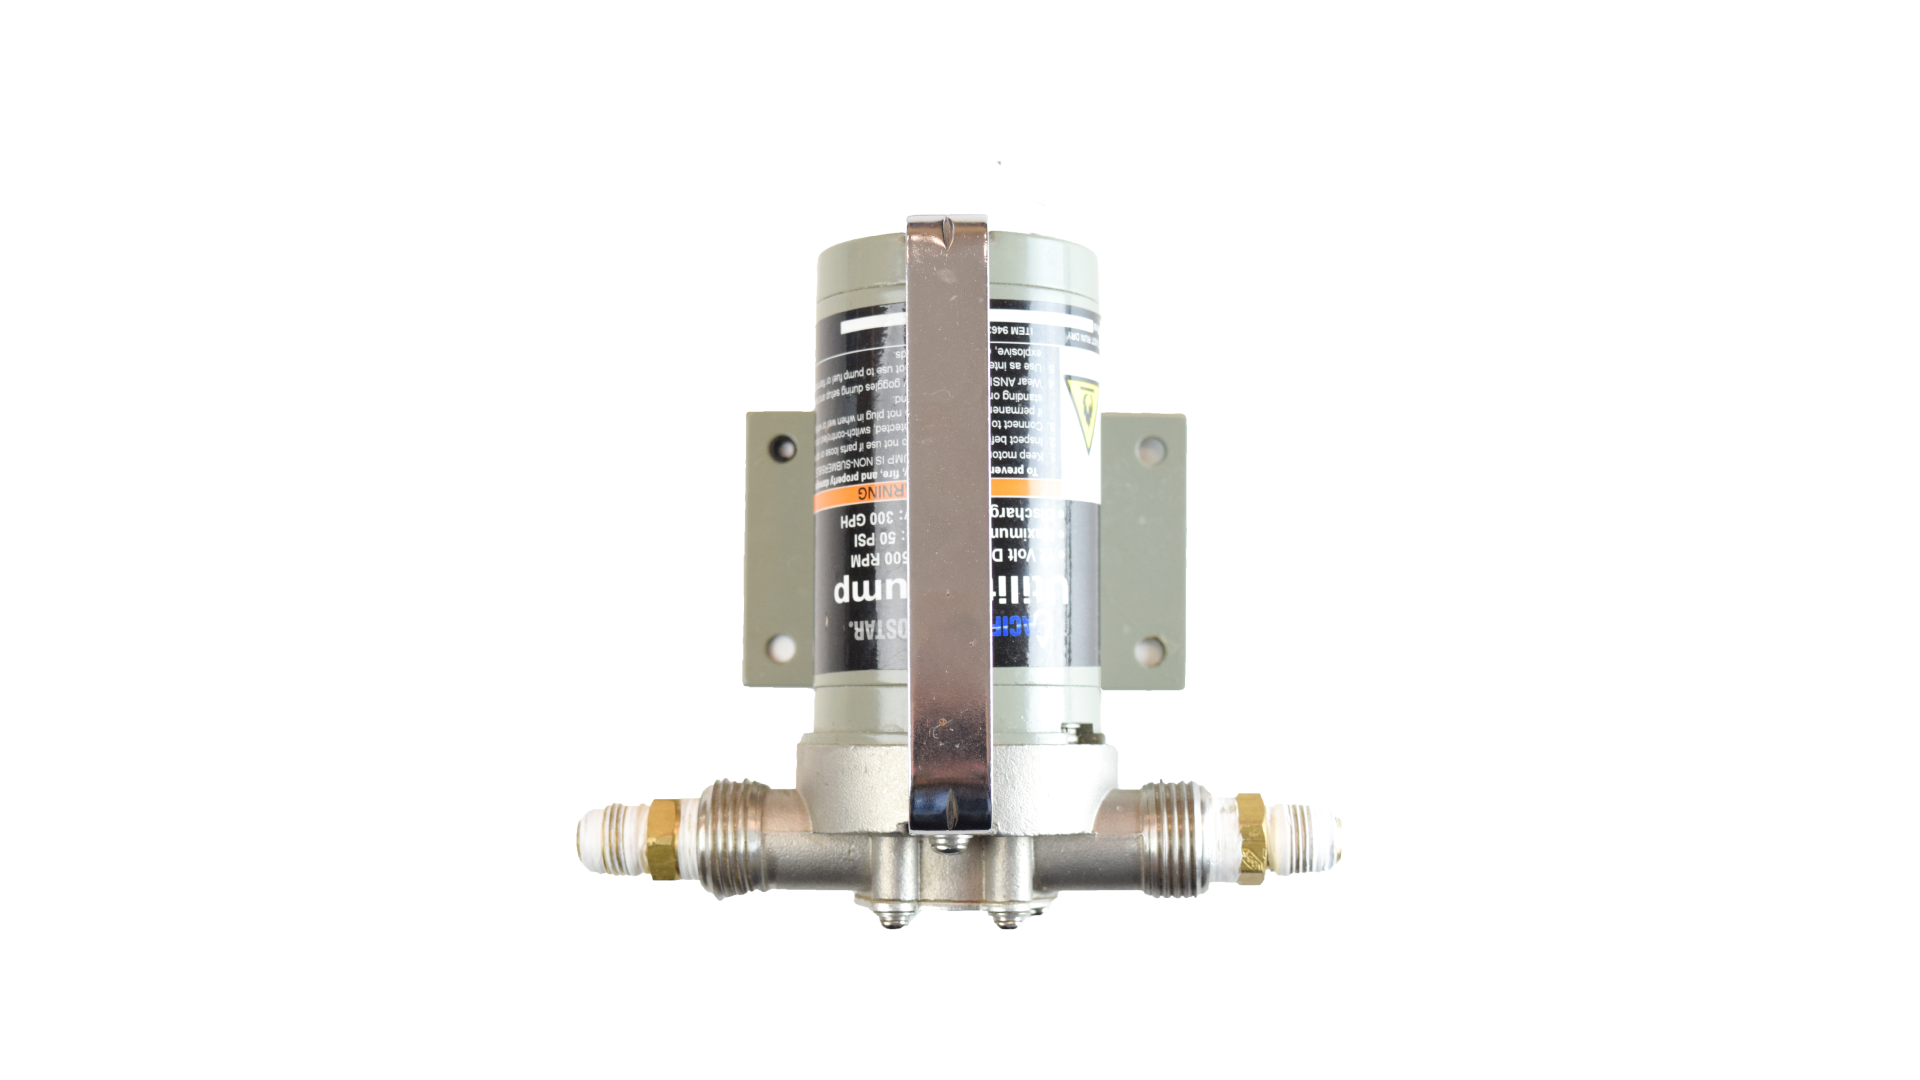
Model: PACIFIC HYDROSTAR
Pump casing made out of stainless steel for use in salt water and fresh water.
Max flow:200GPH (gallons per hour).
12 VOTS – 10 AMP
Total head lift: 23 feet
Double inlet thread and outlet: 3/8-18 NPT y 3/4 en-11 NPT macho
Steps
You need to create a UBIDOTS account.

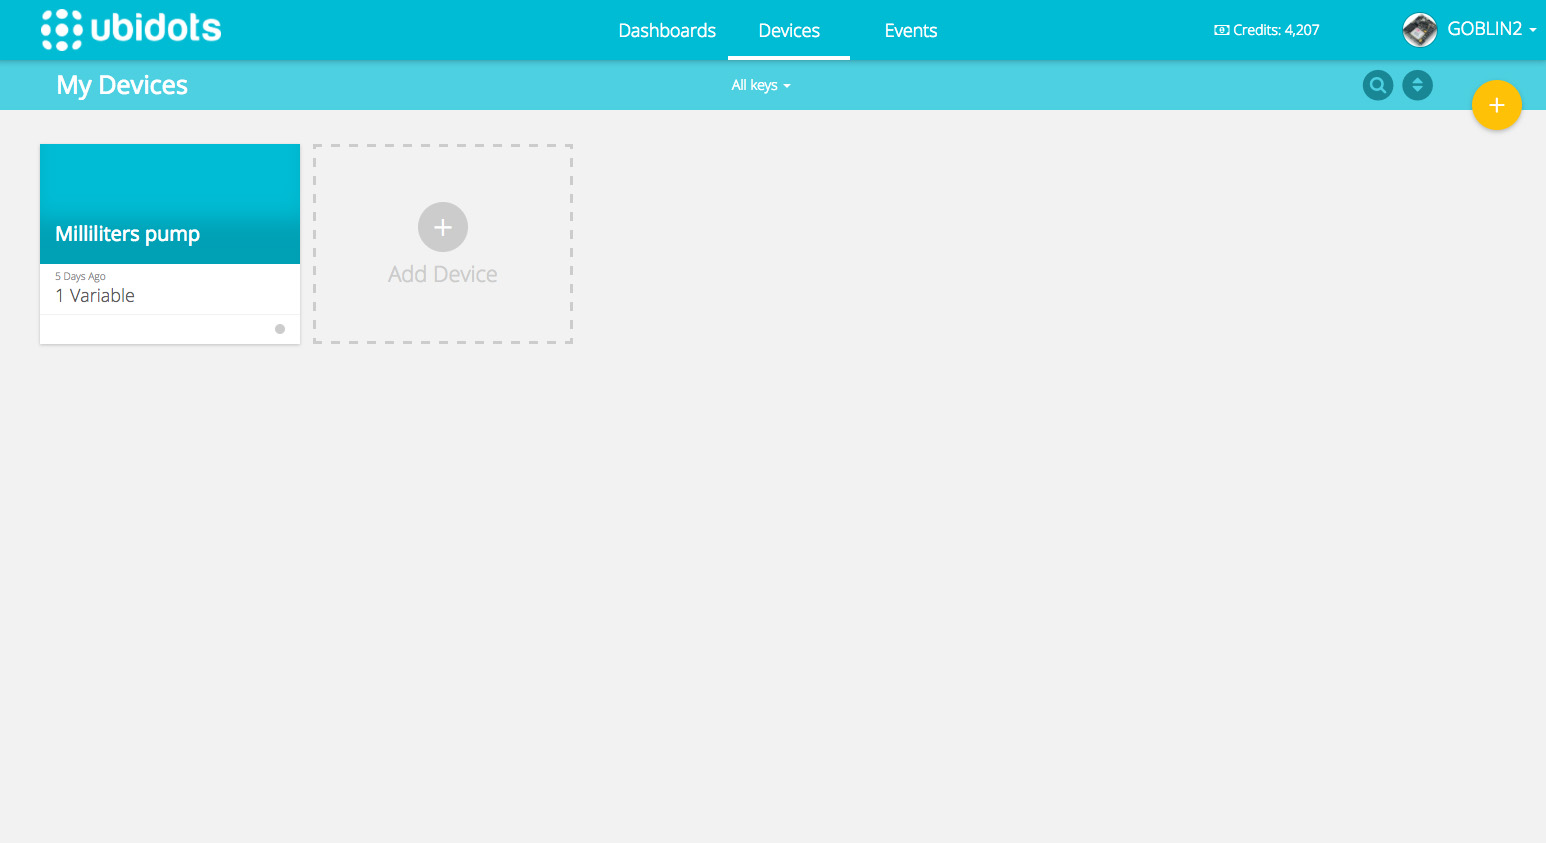
On the tab labeled Devices we´ll choose Add device, in this case we´ll call it Milliliters pump
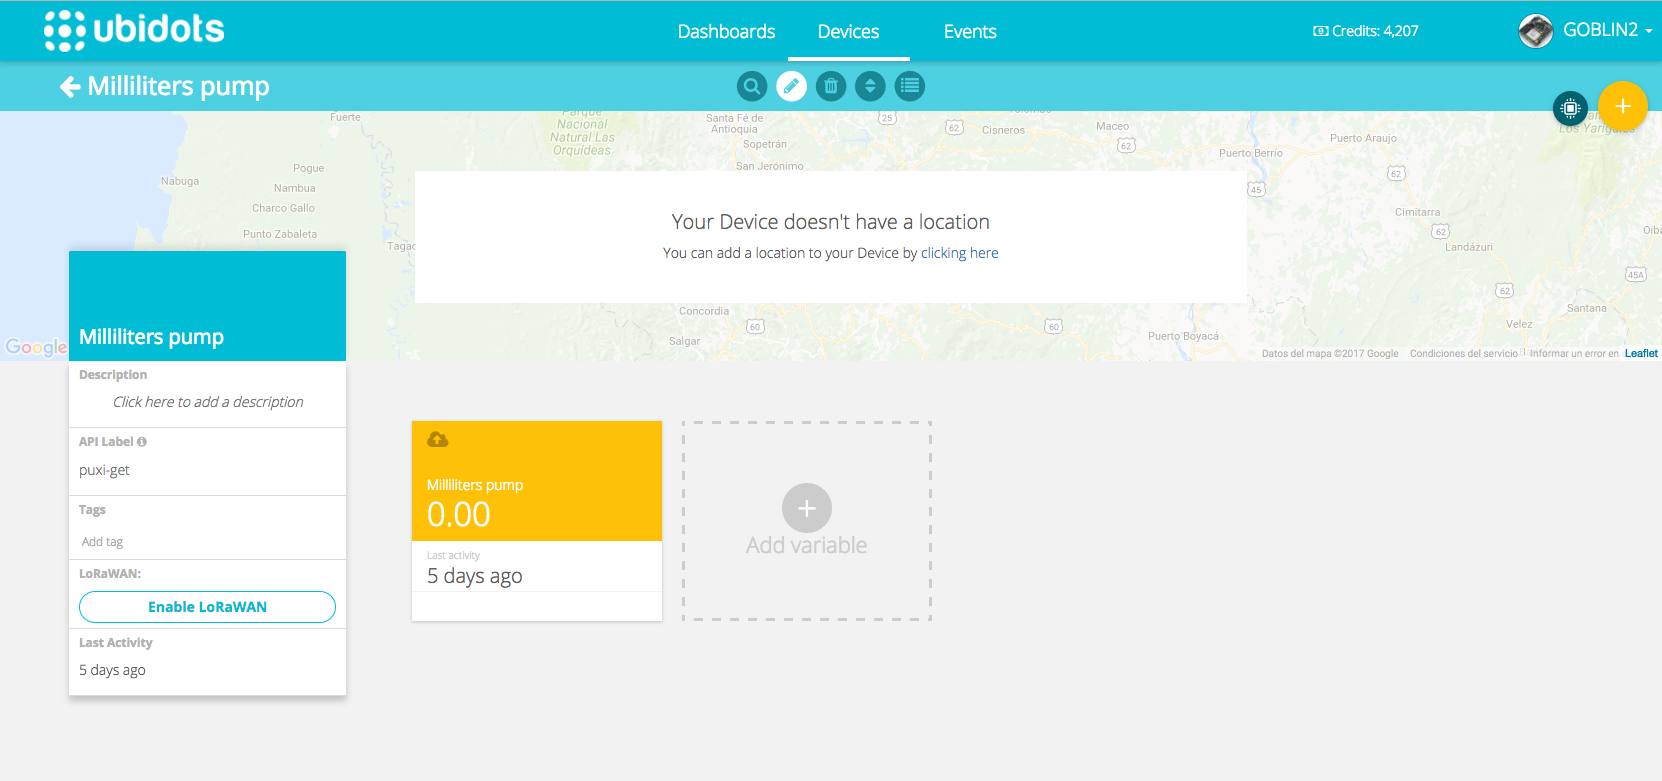
In Milliliters pump, we´ll add a variable in “Add variable” and it´ll be “Default”, we´ll also call it Milliliters pump.
We create a Widget on the Dashboards tab, it´ll be a “Control” data, >>type of widget “Slider” >>name of the control variable Milliliters pump.

It´ll show in the following way and the slider will range from 0 to 7000ml, these are the 7500ml in our water tank, and these parameters may be modified according to your container. Done, our control variable has been created.

We´ll go to the devices tab and access “Milliliters pump” and go to API credentials in the profile.

We copy the “Tokens” and the “ID” and we replace them in the xxx of our program.

Replace the “ID" and the "Token” on the “” of the example code. You can obtain the code from here.
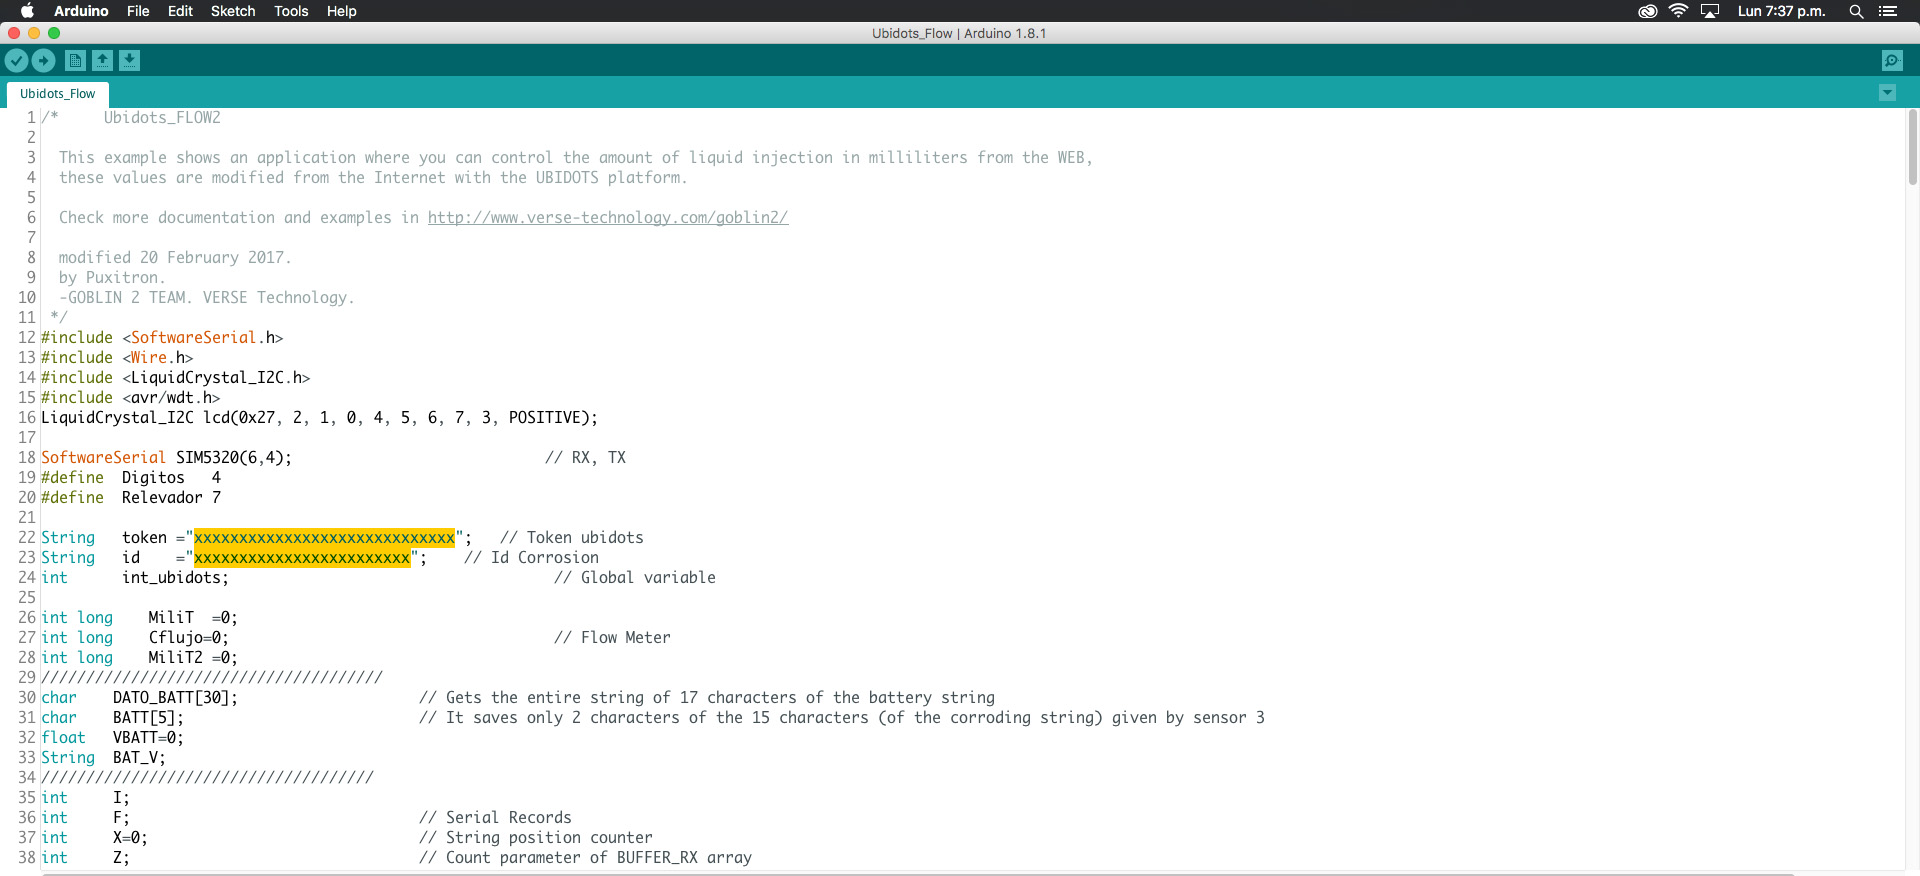
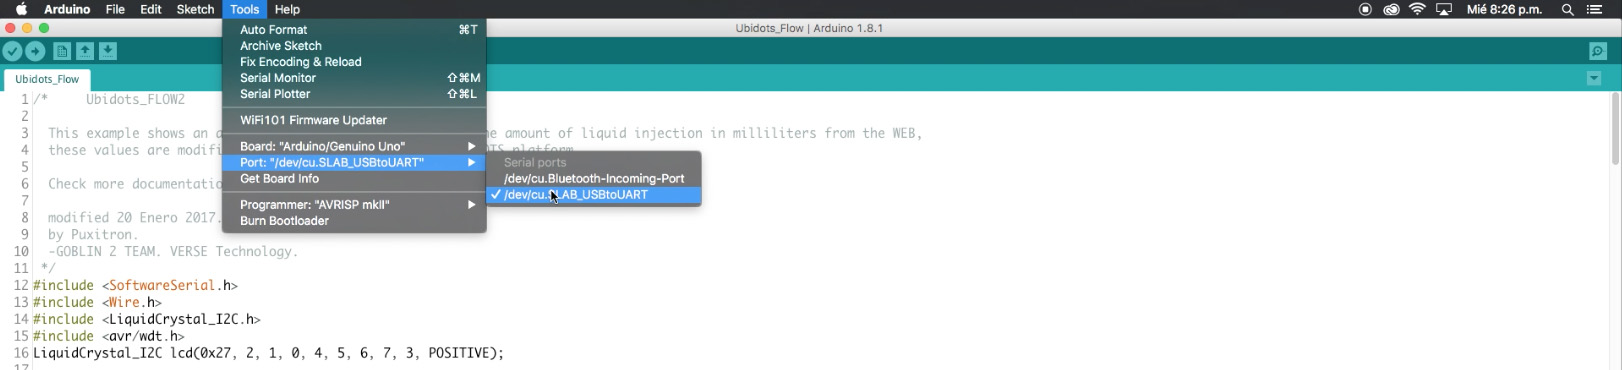
Select the tools on the IDE of the Arduino followed by BOARD:Arduino/Genuino Uno,select the port COM of your GOBLIN 2 and compile the program “Upload”. Done, our GOBLIN 2 has been programmed.

You can use this example for an automatic irrigation control, that irrigates every 15 minutes the liters of water that were chosen, you can make automation systems to turn on and off lightbulbs of other devices. Let´s allow you imagination to come up with the next project, we hope you keep having fun with your GOBLIN 2.